From Raw Wood to Finished Piece: A Step-by-Step Woodworking Guide for Beginners
Discover how to transform raw lumber into a polished, professional-looking project with this complete step-by-step woodworking guide. Designed especially for beginners, this article breaks down the entire woodworking process—from choosing the right wood and creating accurate measurements to assembling, sanding, and applying the perfect finish. Whether you're starting your first DIY woodworking project or looking to refine your technique, this guide provides the clarity and structure you need to build with confidence. Learn the essential steps that reduce mistakes, improve precision, and help ensure your finished piece turns out exactly the way you envisioned.
2/20/20264 min read
This post may contain affiliate links, which means I might earn a small commission (at no extra cost to you) if you decide to make a purchase through one of these links. I only recommend products I actually use or genuinely believe will bring value. Thanks for the support!
Introduction: Understanding the Woodworking Process from Start to Finish
If you’ve ever wondered how professionals transform rough lumber into polished furniture, the answer lies in following a structured, step-by-step woodworking guide. Woodworking for beginners often feels overwhelming—not because it’s too complicated, but because the process isn’t clearly explained.
This beginner woodworking tutorial breaks down the entire woodworking process—from selecting raw wood to applying the final finish—so you can confidently complete your next DIY woodworking project without second-guessing each step.
When you understand the sequence, woodworking becomes predictable, efficient, and far more enjoyable.
Step 1: Selecting the Right Lumber for Your Project
Choosing the correct wood is the foundation of every successful build. The type of lumber you select directly affects durability, workability, and final appearance.
For woodworking for beginners, softwoods like pine or poplar are ideal. They are easier to cut, more forgiving when fastening, and generally cost-effective. Hardwoods such as oak or maple provide superior durability and grain definition but require sharper tools and greater precision.
When purchasing lumber, inspect boards carefully:
Avoid warping or twisting
Check for cracks and splits
Look for consistent thickness
Choose straight grain patterns
Proper wood selection reduces complications during the cutting and assembly stages.
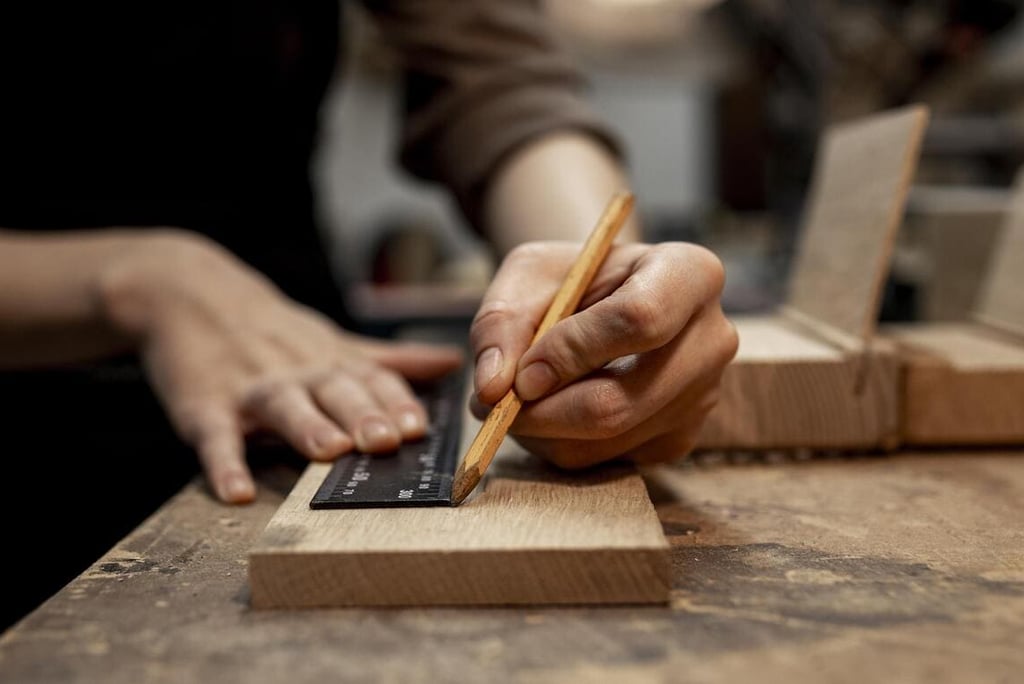
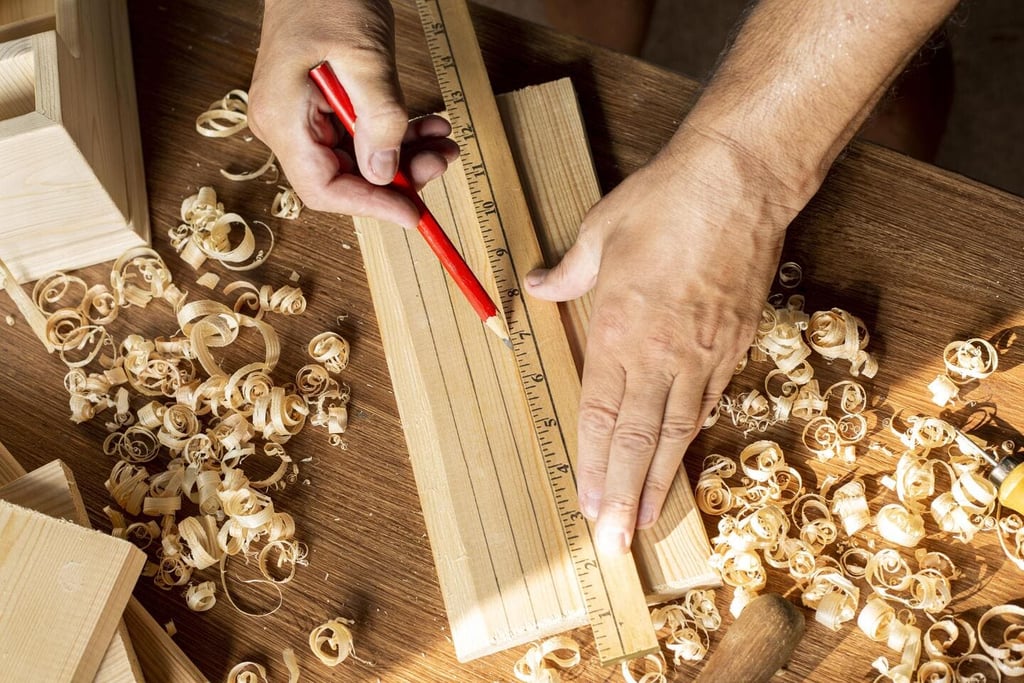
Step 2: Planning, Measuring, and Creating a Cut List
One of the most overlooked steps in DIY woodworking projects is planning. Rushing into cutting without detailed measurements leads to wasted material and frustration.
Begin with a simple sketch of your project. Label all dimensions clearly and create a cut list that outlines each required piece. This transforms your build from guesswork into an organized workflow.
Accurate measuring tools are essential. Precision at this stage prevents alignment problems later. The principle of measuring twice and cutting once remains central to any effective step-by-step woodworking guide.
Careful planning shortens build time and improves overall accuracy.
The Fastest Way to Start a Wood Project Today
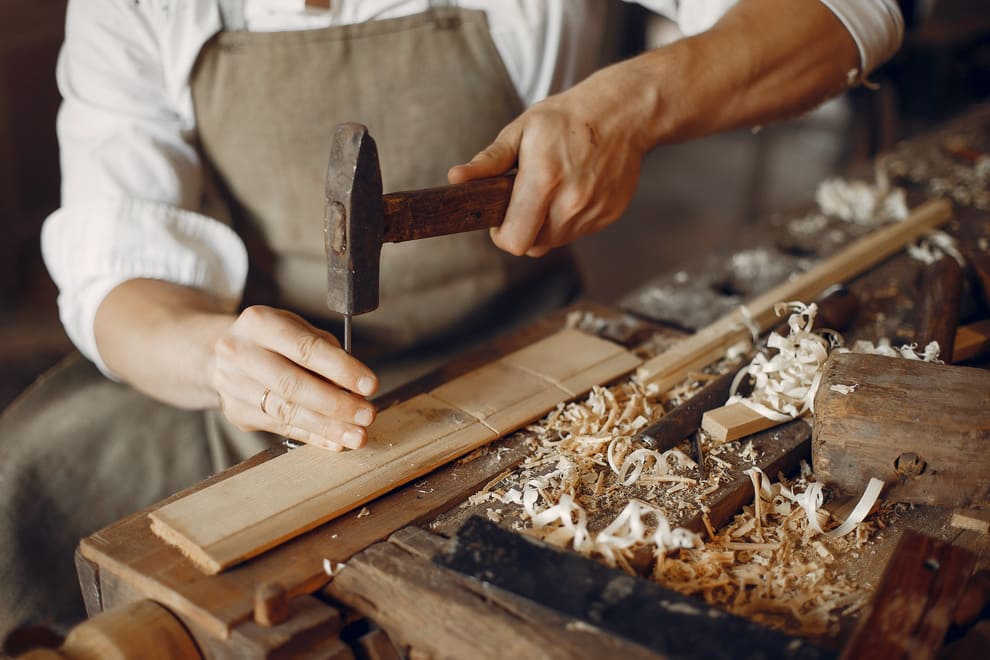
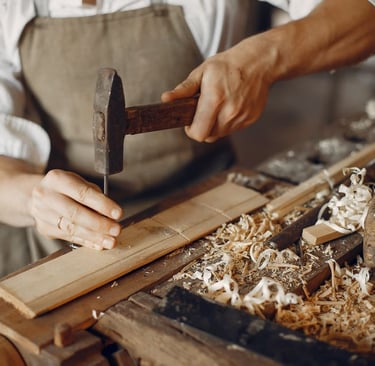
Step 3: Cutting and Shaping Components
Cutting is where raw lumber begins its transformation. Consistency and precision are critical here.
Ensure that cuts are straight and angles are exact. Using guides, jigs, or properly calibrated tools improves repeatability—especially for beginners learning the woodworking process.
After primary cuts are complete, shaping may involve:
Creating bevels
Rounding edges
Trimming excess material
Taking time during cutting minimizes corrections later. Clean cuts make assembly significantly easier.
Step 4: Dry Fitting and Assembly Techniques
Before applying glue or fasteners, always perform a dry fit. This step allows you to verify alignment and structural integrity without committing permanently.
Check that:
Corners are square
Joints fit tightly
Edges sit flush
Components align evenly
Dry fitting identifies potential issues early. Once confirmed, proceed with glue, screws, dowels, or other joinery methods suited to your project.
Clamping during assembly stabilizes components and ensures tight bonds. Proper alignment during this stage directly influences the final result.
16,000 Woodworking Plans You Didn’t Know Existed
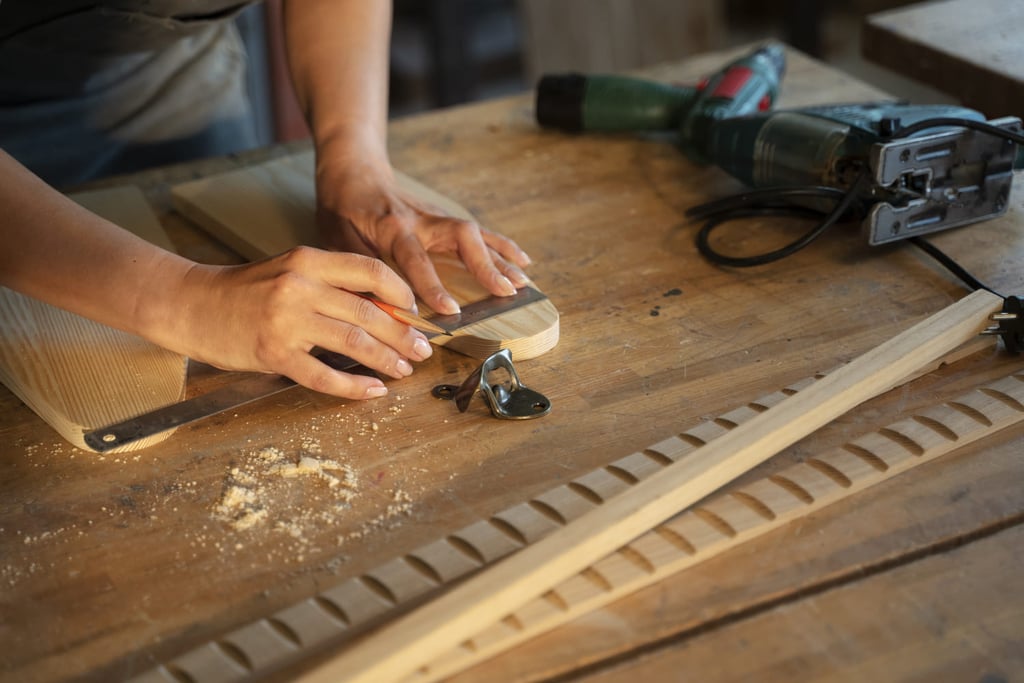
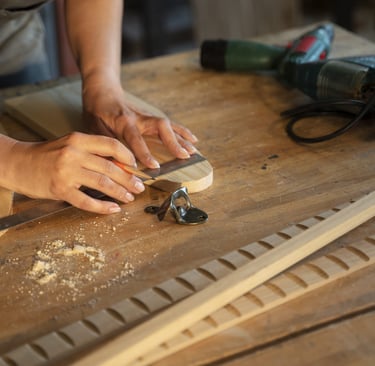
Step 5: Sanding and Surface Preparation
Sanding refines the structure into a smooth, professional-looking piece. Begin with medium-grit sandpaper to remove tool marks, then gradually move to finer grits.
Always sand along the grain to prevent visible scratches. Slightly softening sharp edges enhances both appearance and safety.
Remove dust completely before finishing. Even small dust particles can interfere with how to finish wood properly.
Thorough surface preparation is essential for achieving high-quality results in DIY woodworking projects.
Step 6: How to Finish Wood for a Professional Look
Finishing protects your project and enhances the natural grain. Understanding how to finish wood correctly ensures durability and visual appeal.
Common finishing options include:
Clear polyurethane for protection
Wood stain for color enhancement
Paint for decorative projects
Wax or oil for a natural look
Apply finish evenly and allow adequate drying time between coats. Rushing this step can compromise the entire woodworking process.
A properly applied finish transforms a simple build into a polished final product.
The Largest Collection of Woodworking Plans (See What’s Inside)
Step 7: Final Inspection and Detailing
The final stage involves reviewing the completed piece for adjustments. Tighten hardware, smooth minor imperfections, and confirm structural stability.
Small refinements at this point elevate your project from functional to professional.
Why Following a Step-by-Step Woodworking Guide Matters
Most beginner frustrations stem from skipping steps or improvising. When you follow a structured woodworking process, results become consistent and predictable.
Detailed plans that include diagrams, measurements, and instructions reduce uncertainty. Instead of worrying whether your project will turn out correctly, you can focus on execution.
Woodworking becomes less about trial and error—and more about repeatable success.
Conclusion: Turning Raw Lumber into Something You’re Proud Of
The journey from raw wood to finished piece follows a clear sequence:
Choose the right lumber
Plan and measure carefully
Cut accurately
Assemble methodically
Sand thoroughly
Finish patiently
When these steps are followed deliberately, woodworking becomes approachable—even for complete beginners.
Confidence grows with each completed project. And with the right guidance, that transformation from rough board to refined piece becomes not only achievable—but enjoyable.
Want to start building today and put these ideas into practice?
Get 50 Woodworking Plans and a 440-Page Guide Book absolutely free and see how easy your first projects can be.


Connect
Join us for tips and DIY home project updates.
Contact
Subscribe
© 2026. All rights reserved.